 Rasterbator
Free Wall Art Generator: Printable Wall Art From Photos
Turn your favorite snapshots into monumental custom decor with our free wall art generator. Calculate room proportions using the interior design 2/3 rule, split photos into multi-page tiled grids, and export a high-resolution large wall decor PDF ready for your home printer.
Select source image
Quick Start Guide
This tool turns any image into a large multi-page rasterbator poster PDF. Upload a file, choose your paper size and poster dimensions, tune the dot style, then generate a print-ready document for home or office printers.
1. Choose an image
Upload a JPG or PNG, paste an image URL, or start with one of the built-in example images if you just want to test the workflow.
2. Set the poster size
Pick a paper format such as A4, A3, or Letter, then decide how many sheets wide or high the final poster should be.
3. Adjust the style
Fine-tune dot density, shapes, colors, margins, and overlap to match the look you want before generating the PDF.
4. Print at 100%
Print the PDF at actual size, then trim and align the pages using the crop marks for the cleanest final result.
Best image types and print tips
Images that work well
High-contrast portraits, bold illustrations, logos, and simple compositions usually produce the most recognizable raster-style posters.
Images that often fail
Very small files, low-contrast photos, or images with too much fine detail may look muddy when enlarged across many sheets.
Printing advice
Use a higher quality print setting when possible, disable fit-to-page scaling, and test one sheet first before printing a full poster.
Troubleshooting
Upload or preview fails
Try uploading the file directly instead of loading from a remote URL. Some image hosts block browser fetch requests.
Output looks too light
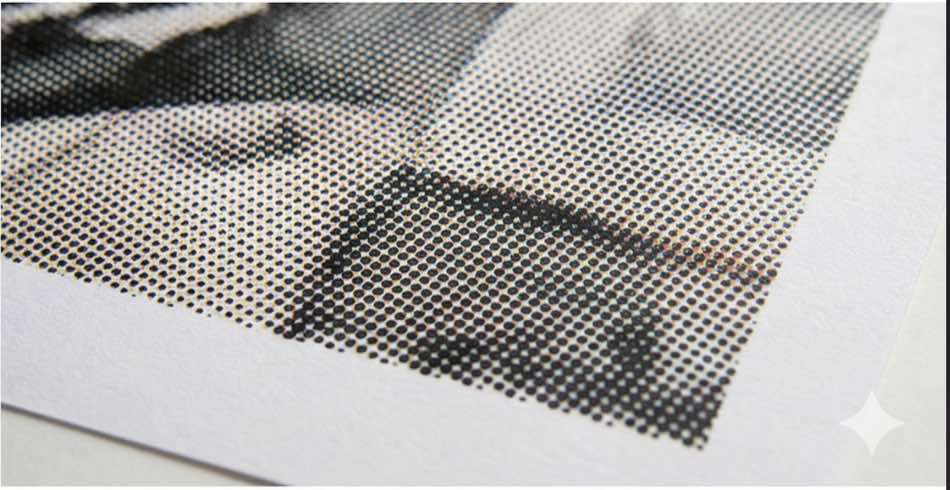
Increase the maximum dot size in the style settings. Light areas of your photo produce very small dots that can disappear on cheaper paper — bumping the dot maximum fills those areas in.
The PDF is too heavy
Reduce the number of sheets or lower the image resolution before uploading. Most home printers don't need files above 150 DPI at the final print size.
Print does not line up
Make sure you printed at exactly 100% scale. “Fit to page” shrinks the output by a few percent, which throws off every crop mark. Always disable that option.
The halftone looks blurry up close
That’s by design — step back three to five meters and the image will snap into focus. Large dot sizes look abstract at arm’s length and photorealistic at a distance.
Need help
If you hit a repeatable issue, contact support@rasterbator.app with the steps you took and any visible error message.
Mastering Wall Art Sizing: The Interior Design 2/3 Rule
Professional interior designers avoid hanging undersized prints that look lost on empty walls. The golden rule is that artwork should span between 60% and 75% (roughly two-thirds) of the furniture width directly underneath:
🛋️ Standard 3-Seat Living Room Sofa (Width: 2.1 m / 84 inches)
Recommended Mural Width: 1.3 m – 1.5 m (52 to 60 inches)
Ideal Tiled Sheet Grid: 6 to 7 sheets of A4 or US Letter in landscape orientation.
Visual Impact: Anchors the seating zone naturally, drawing the eye without overwhelming ceiling sightlines.
🛏️ Queen-Size Bedroom Headboard (Width: 1.5 m / 60 inches)
Recommended Mural Width: 0.9 m – 1.1 m (36 to 44 inches)
Ideal Tiled Sheet Grid: 4 to 5 sheets of A4 or US Letter portrait orientation.
Visual Impact: Creates a majestic focal headboard gallery without heavy frame hardware hanging over sleeping areas.
🖥️ Dedicated Home Office Desk (Width: 1.2 m / 48 inches)
Recommended Mural Width: 0.75 m – 0.9 m (30 to 36 inches)
Ideal Tiled Sheet Grid: 3 to 4 sheets of A4 or US Letter.
Visual Impact: Perfect for high-contrast architectural blueprints, macro photography, or motivational design art.
📐 The Wall Fit Calculator Advantage
Our built-in sizing engine locks your source photo's aspect ratio automatically when you set horizontal sheets. You never have to worry about stretched faces, awkward crops, or mathematically skewed panels.
Curated Spaces for Printable Wall Art From Photos
Explore how creators use our large wall decor PDF compiler across different living and workspace environments:
Living Room Above Sofa
Apply the interior design 2/3 rule to fill space above a couch or fireplace. A 4×5 A4 sheet grid creates an impressive 1.2-meter statement mural.
Creative Studio & Office
Enlarge architectural photography, motivational typography, or abstract textures across multiple sheets for an energetic work backdrop.
Dorm Room & Bedroom
Turn smartphone travel shots, movie fan art, or anime illustrations into large wall decor PDFs without spending money on custom framed prints.
Signature Wall Art Aesthetic Styles
Select your favorite visual texture before downloading your large wall decor PDF:
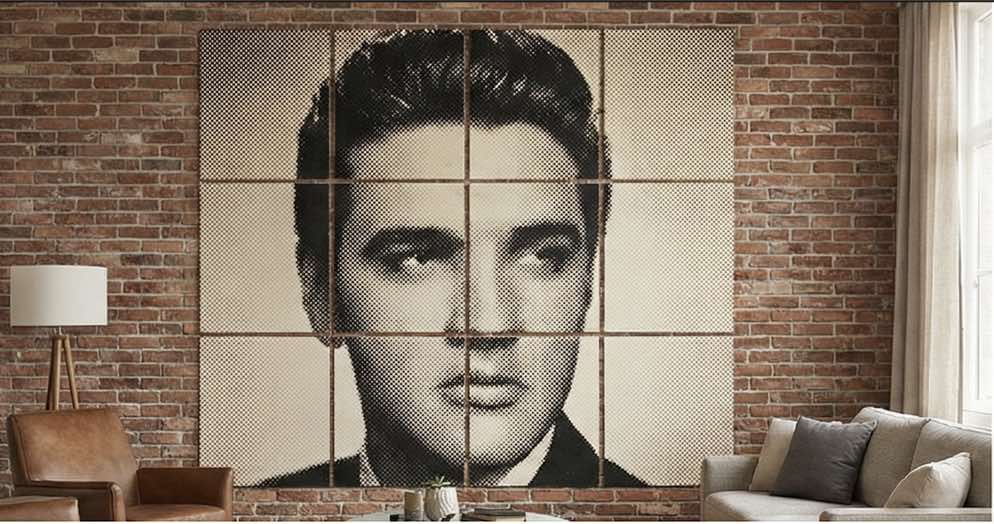
Classic B&W Halftone
Bold high-contrast dots ideal for portraits and vintage newspaper vibes.
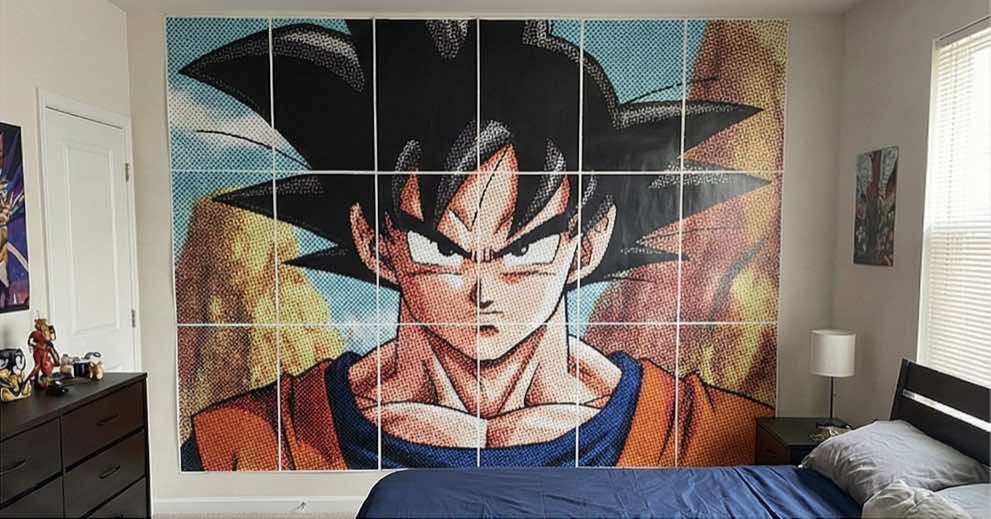
Full Color Halftone
Preserve natural photo hues while adding tactile pop-art dot geometry.
Pop Art Bold Red
Dramatic saturated color blocks reminiscent of classic screenprints.

Minimalist Fine Dot
Delicate dot pitch engineered for intimate viewing distances.
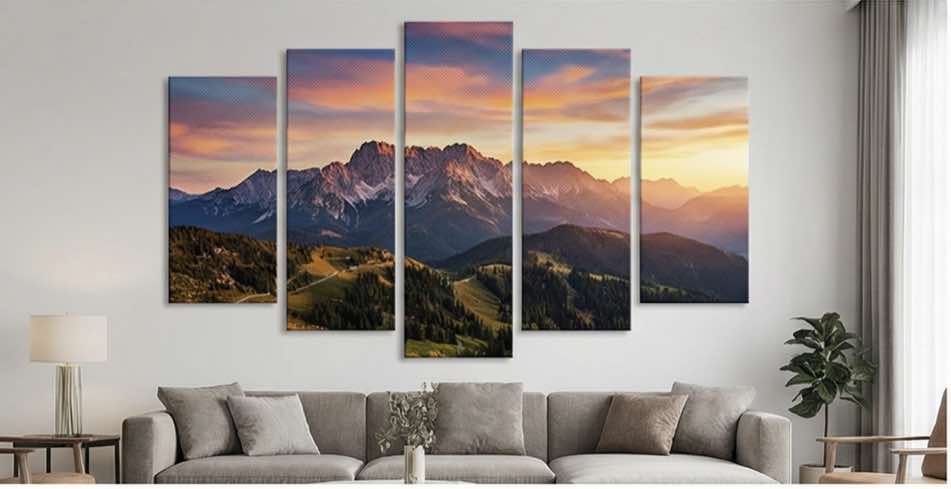
Panoramic Landscape
Expansive wide-format murals that span multi-page horizontal layouts.
Statement Headboard
Vertical portrait proportions calibrated to fill wall space above bed frames.
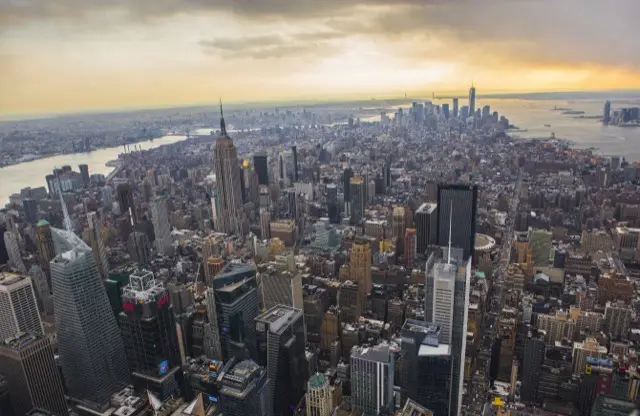
Office Abstract Modern
Geometric and macro abstractions that spark creative thinking in studios.
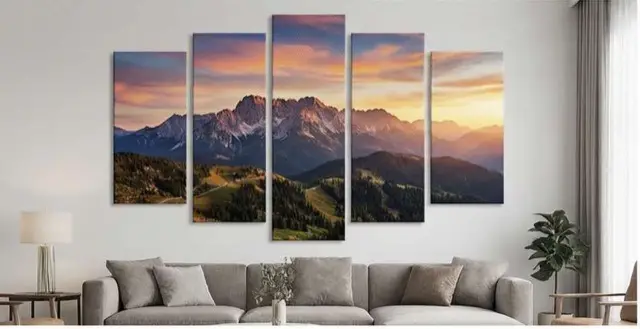
Event Wall Decor
Modular tiled prints for wedding photo walls, birthdays, and exhibitions.
How to Make Printable Wall Art From Photos (4-Step Workflow)
1. Select Your Digital Source Photo
Choose an image with strong illumination and crisp subject focus. Graphic illustrations, family portraits, and dramatic landscapes all translate beautifully into modular tile panels.
2. Input Desired Wall Dimensions
Select your desktop paper format (A4 or US Letter) and configure the horizontal page count based on your room's 2/3 furniture coverage target.
3. Customize Visual Dot Geometry
Calibrate dot pitch and choose between retro monochrome black-and-white or high-saturation pop-art palettes to match your home interior colors.
4. Print, Trim, and Mount
Download the compiled multi-page PDF. Print at 100% scale without shrinking, cut the white borders using a utility blade, and hang with damage-free removable poster tape.